React Native: Modal Screens with React Navigation
Posted by Youssef Moawad on: 14/01/2018, in Computer Science
Intro
In this guide, I will show you how I would do proper dismissable modal screens using the React Navigation system for React Native.
I will assume you are somewhat familiar with using React Native to build native iOS and Android apps and know how to start a React Native project, make simple components and run your app. You should also know how React Navigation is implemented typically (which you can learn about from their website).
I have also put the code for the app on a GitHub repo so feel free to refer to it alongside this tutorial.
What are we building?
We're going to be making a very simple app that has two screens; an entry screen with a button, which when pressed presents the second screen modally. The second screen will then have a back button which can be pressed to dismiss it.
App Setup
Create a new React Native app using the create-react-native-app tool (or whichever is the tool of your choice). This should take a few seconds.

Create a new React Native app.
You should now have an empty React Native project with a file structure like this:
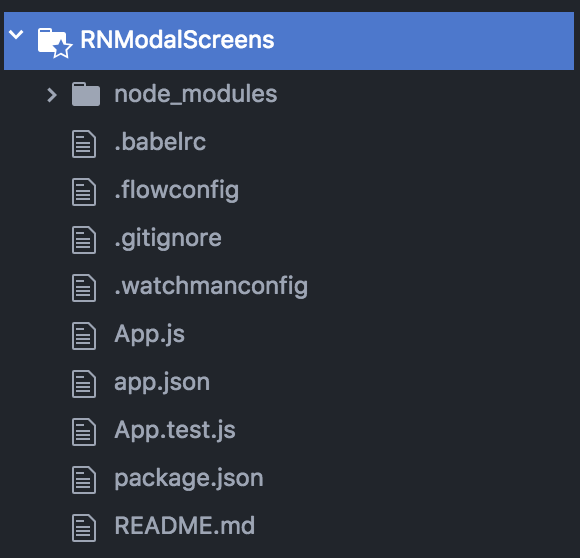
Initial folder structure.
Feel free to run the app now and confirm that it works on the simulator, you should get something that looks like this:

Initial app.
You should now go ahead and add react-navigation to your project by going into your package.json file and adding it to the dependencies object, so that it looks like:
    "dependencies": {
      "expo": "^23.0.4",
      "react": "16.0.0",
      "react-native": "0.50.3",
      "react-navigation": "^1.0.0-beta.16"
    }
Note that there will likely be newer versions of React Navigation released after this post is published. In which case, I will do my best to maintain this post to make sure the code still works.
You should now run npm install to install the package.
Setting up folders and initial files
In a React Navigtion project, I usually have a config folder which holds the routes.js file, which will specify the navigation stack details. I also have a screens folder which holds all of my screen components. Each folder will contain an index.js file to export appropriate components outside of the module.
Go ahead and create appropriate folders and files such that your folder structure looks like:
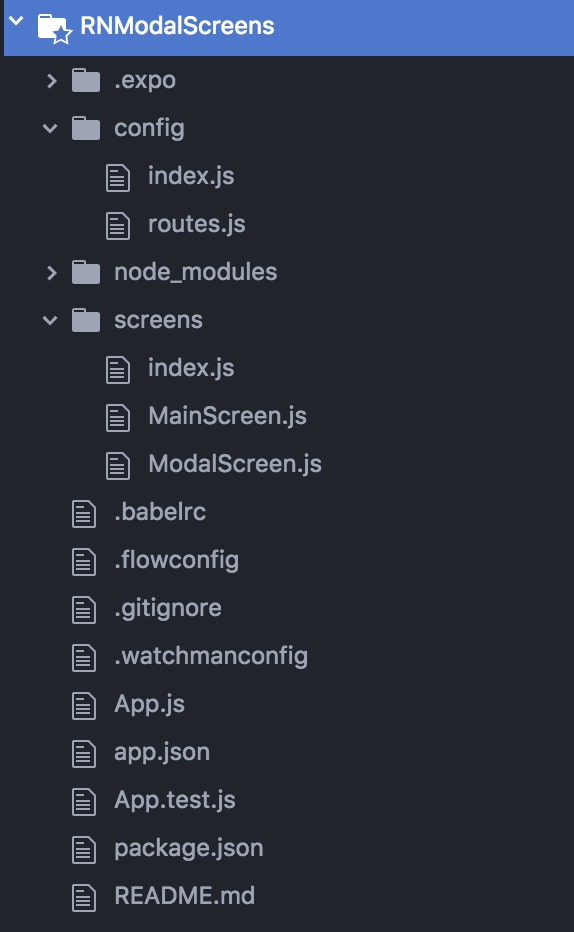
Create the config and screens folders and the appropriate files as shown.
The Main Screen
Let's now add some code to MainScreen.js so it simply shows a text label with a message and a button, which when tapped should take us to the next screen. This is mostly adding views and using a stylesheet so I won't be elaborating too much about this code.
screens/MainScreen.js
    import React from 'react';
    import { StyleSheet, Text, View, TouchableOpacity } from 'react-native';

    export default class MainScreen extends React.Component {
      static navigationOptions = {
        title: 'Main',
      };

      buttonPressed() {

      }

      render() {
        return (
          <View style={this.styles.container}>
            <Text>{"Welcome to the app! Press the button."}</Text>

            <TouchableOpacity onPress={() => this.buttonPressed()}>
              <View style={this.style.button}>
                <Text style={{color: 'white'}}>{"Press me to move on!"}</Text>
              </View>
            </TouchableOpacity>

          </View>
        )
      }

      styles = StyleSheet.create({
        container: {
          flex: 1,
          backgroundColor: '#fff',
          alignItems: 'center',
          justifyContent: 'center',
        },

        button: {
          height: 45,
          width: 350,
          backgroundColor:"#0075ff",
          alignItems: 'center',
          justifyContent: 'center',
          borderRadius: 10,
          marginTop: 10,
        }
      })
    }
Note that I left the buttonPressed() function empty. This will be used to navigate to the second screen after it's implemented.
Let's now have the MainScreen display when the app is loaded by going into the routes file and creating a new StackNavigator.
config/routes.js
    import React from 'react';
    import { StackNavigator } from 'react-navigation';

    import { MainScreen } from '../screens/';

    export default Root = StackNavigator({
      Main: { screen: MainScreen },
    })
Make sure to export MainScreen from the screens folder by adding this to screens' index file:
screens/index.js
export MainScreen from './MainScreen'
You will also need to export our Root object from the config folder.
config/index.js
export Root from './routes'
We can now import this into our App.js file and simply render the Root component.
App.js
    // Other imports here...
    import { Root } from './config'

    render() {
      return(
        <Root />
      )
    }
You should now be able to run the app in the simulator and see the main screen:
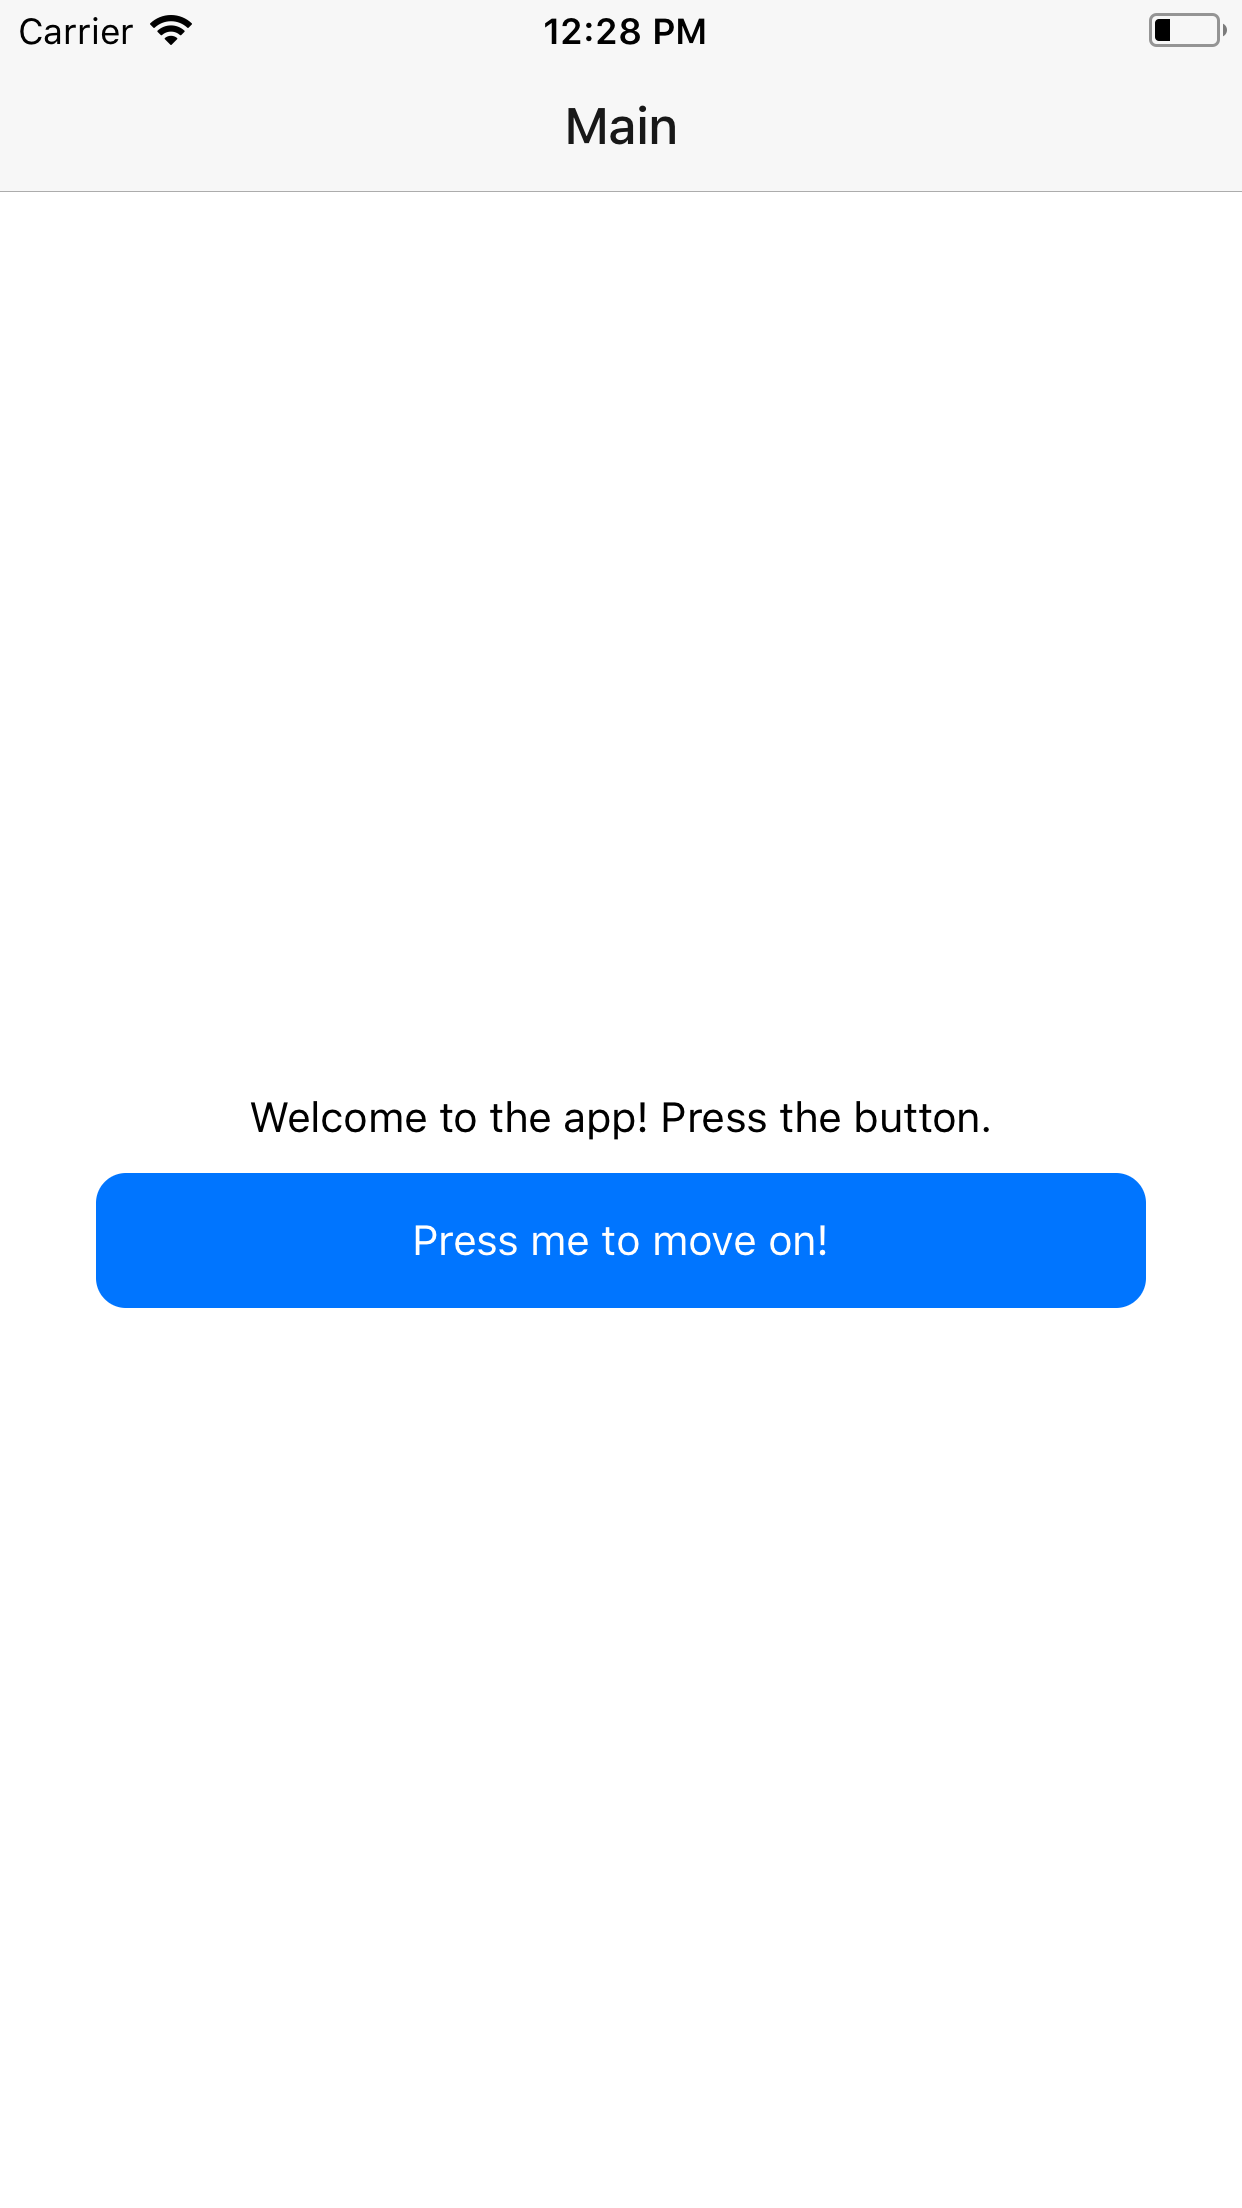
The app's main screen.
Notice that pressing the button doesn't do anything yet because the buttonPressed() function is empty. So let's implement the second screen now and hook it up to the first.
The Second Screen
This screen will be very similar to the first screen; just a label and a button. The button will take us back to the main screen.
Just for starters, we will have the second screen display in the card stack. Go ahead and implement the second screen:
screens/ModalScreen.js
    import React from 'react';
    import { StyleSheet, Text, View, TouchableOpacity } from 'react-native';

    export default class ModalScreen extends React.Component {
      static navigationOptions = {
        title: 'Modal',
      };

      modalScreenButtonPressed() {

      }

      render() {
        return (
          <View style={this.styles.container}>
            <Text>{"You've reached the second screen. You can go back now."}</Text>

            <TouchableOpacity onPress={() => this.modalScreenButtonPressed()}>
              <View style={this.styles.button}>
                <Text style={{color: 'white'}}>{"Go back"}</Text>
              </View>
            </TouchableOpacity>

          </View>
        )
      }

      styles = StyleSheet.create({
        container: {
          flex: 1,
          backgroundColor: '#fff',
          alignItems: 'center',
          justifyContent: 'center',
        },

        button: {
          height: 45,
          width: 350,
          backgroundColor:"#0075ff",
          alignItems: 'center',
          justifyContent: 'center',
          borderRadius: 10,
          marginTop: 10,
        }
      })
    }
Remember that we have to export the screen from the screens folder using the index.js file. Do that by adding another export statement for the ModalScreen.
The next step is to add ModalScreen to the navigation routes to be able to access it. We will have to change this later one in order to have it display modally but for now this will do. Import ModalScreen into routes.js and add another entry to the Root object, so that routes.js looks like:
config/routes.js
    import React from 'react';
    import { StackNavigator } from 'react-navigation';

    import { MainScreen, ModalScreen } from '../screens/';

    export default Root = StackNavigator({
      Main: { screen: MainScreen },
      Modal: { screen: ModalScreen }
    })
We can now simply call navigate("Modal") on the navigation object in the MainScreen in the buttonPressed() function and hook up the first screen to the second.
screens/MainScreen.js:buttonPressed
    buttonPressed() {
      this.props.navigation.navigate("Modal")
    }
Now go ahead and run the app in the simulator. You should be able to press the button and navigate to the second screen.
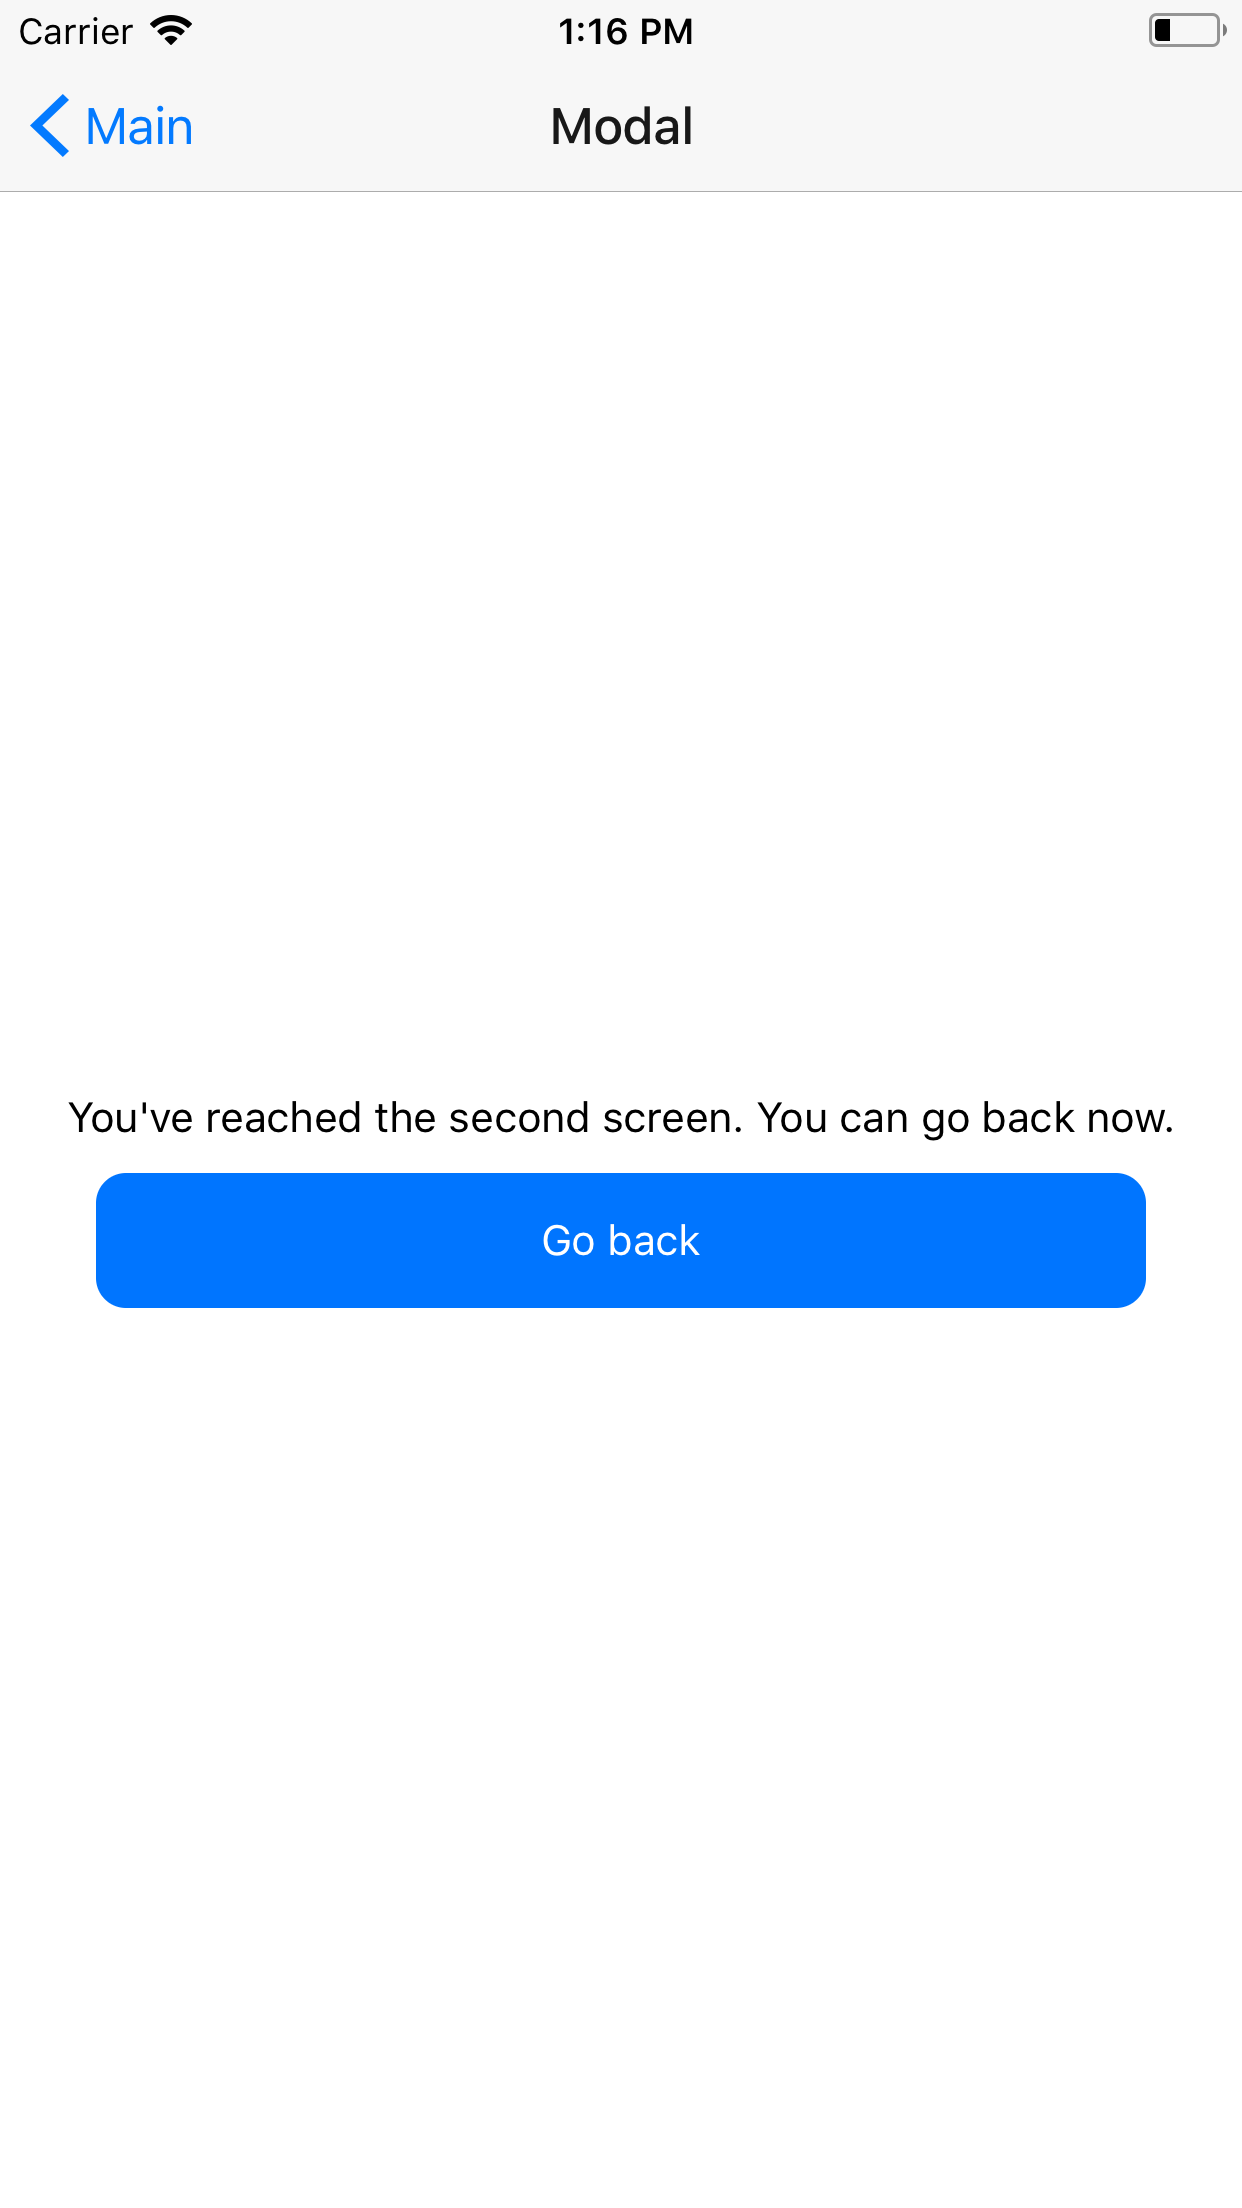
The second screen displayed regularly as a card in the stack. We still need to have this display modally.
One more thing we can do here in the second screen is hook up the button to have it go back. We want this to navigate back to the same MainScreen as the one which was initially displayed (as opposed to navigate forward to a new MainScreen), as if we used the back button that automatically appears in the top bar. We can do this using goBack(), like so:
screens/ModalScreen.js:modalScreenButtonPressed
    modalScreenButtonPressed() {
      this.props.navigation.goBack()
    }
Displaying the Second Screen Modally
The last thing we have to do now is to actually have the second screen display modally. Now, react-navigation lets us set a mode property on a navigator object (like the Root we defined in the routes file). However, we can't set it on individual screens. So how can we properly display a screen modally?
What we can do is pass in navigators as screens, that is, we can have nested navigators.
The way to do this is to have a Root navigator which by default displays everything modally and acts as a container for the entire app. We will then have a MainNavigator object, which is simply a stack navigator, display the MainScreen (and in a larger app, any other card screens). The root navigator will have the MainNavigator and the ModalScreen.
Refactor the routes file to have these changes:
config/routes.js
    import React from 'react';
    import { StackNavigator } from 'react-navigation';

    import { MainScreen, ModalScreen } from '../screens/';

    const MainNavigator = StackNavigator({
      Main: { screen: MainScreen }
    })

    export default Root = StackNavigator({
      Main: { screen: MainNavigator },

      /** MODAL SCREENS GO HERE **/
      Modal: { screen: ModalScreen }
    },{
      mode: 'modal', // Remember to set the root navigator to display modally.
      headerMode: 'none', // This ensures we don't get two top bars.
    })
Since we kept the name of the modal screen the same in the root object, we can now simply run the app and the screen will simply display modally when we press the button. The goBack() function in the modal screen will also properly dismiss the screen the screen towards the bottom as expected. Go ahead and run the app to see these changes:
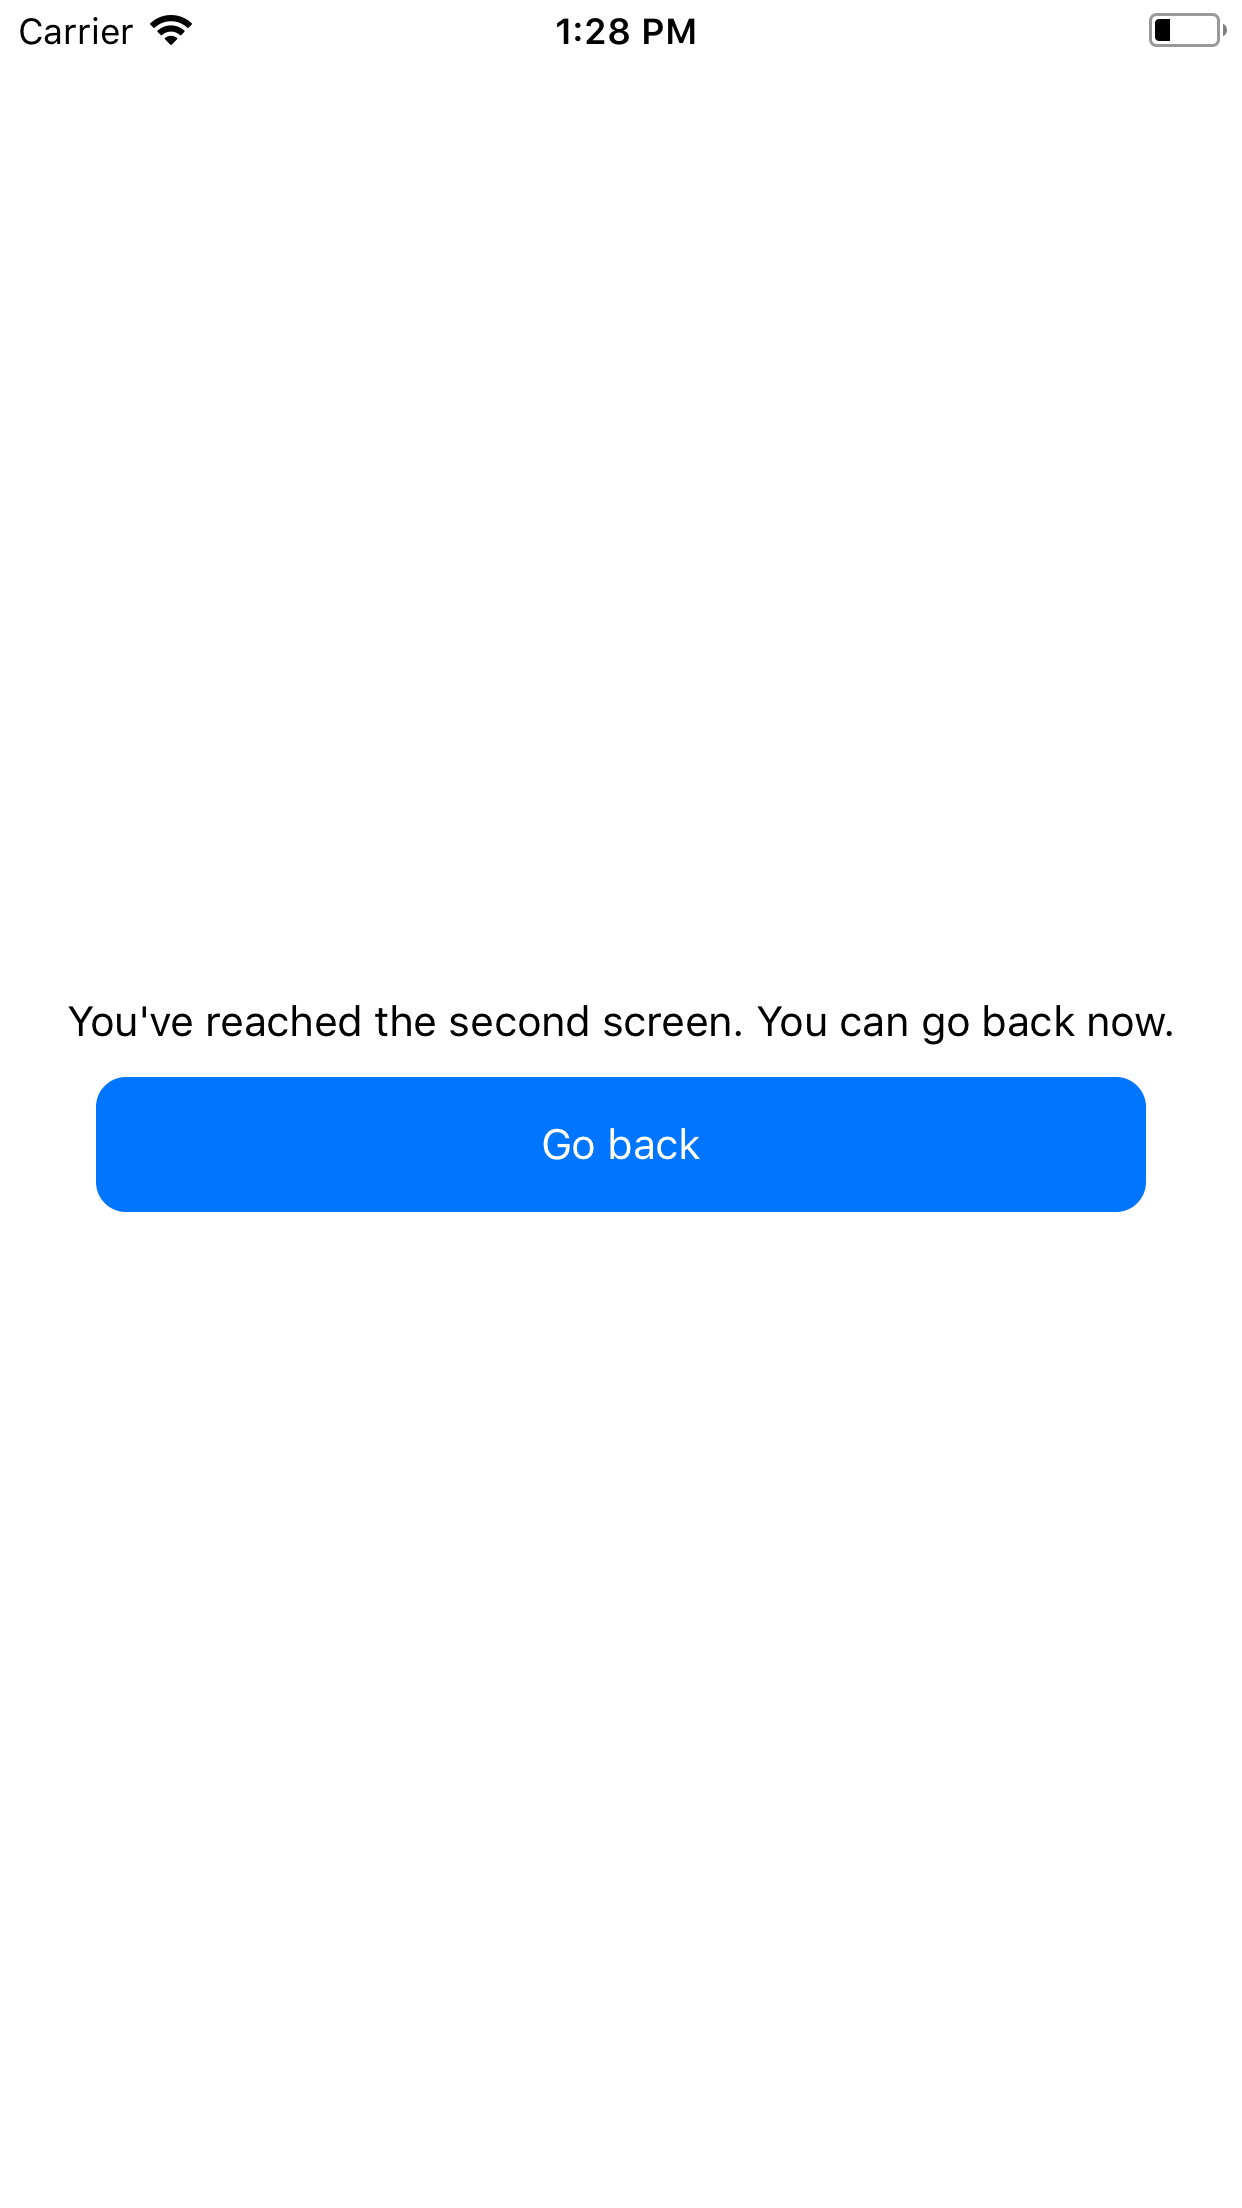
The second screen displayed modally as required.
Conclusion
That's it! The important part here is understanding how the wiring in routes.js works and using it effectively. You could have also used a TabNavigator for the main navigator if you need an app with tabs that also has to display modal screens.
You can also now add a third screen to display as a card by navigation from the third screen if you would like to continue experimenting. You can do this the same way that we initially had the second screen display but you will have to use the MainNavigator object instead of Root.
As mentioned at the start, you can find the code for the app up on GitHub. Feel free to fork it, continue experimenting and suggest any recommendations.
I hope you enjoyed this and found it useful. As this is the first tutorial of this kind that I've published, I would appreciate any feedback about how the material was presented. Particularly, I'd appreciate any comments on how detailed it was. So please do use the comments or the Contact Me section to let me know what you thought.
Happy Coding!